
Nail prep for gel polish usually gets explained as one routine that fits every nail. It doesn’t. The standard five-step sequence works fine as a baseline, but it ignores the nail plate’s individual characteristics, and that’s exactly why gel polish that should last three weeks sometimes lifts in two.
This guide covers the standard prep steps first, then breaks down the extra adjustments needed for four nail types: oily, damaged or thin, bitten or very short, and ridged. If your gel nails keep failing early and you’ve followed the standard routine to the letter, the answer is usually in which of these four categories your nails fall into.
Step 1: Shape and File (180–240 grit)
The nail file shapes the free edge first, before any other prep step. Use 180 grit for standard, healthy nails. Thin or damaged nails need a finer 240 grit, covered in detail later in this guide.
Step 2: Push Back and Clear Cuticles
The cuticle pusher clears dead skin from the nail plate using small, gentle motions. Apply a cuticle remover first if the cuticle is stubborn, and never cut living skin.
Step 3: Buff the Surface
The buffer removes shine from the nail plate so the base coat has something to grip. 180 grit is standard. Damaged or ridged nails need a different approach, covered in Sections 4 and 6.
Step 4: Cleanse with IPA or Prep & Wipe
A lint-free wipe soaked in isopropyl alcohol or a dedicated prep solution removes oils, dust, and residue left from filing and buffing.
Step 5: Apply Nail Dehydrator
The dehydrator strips any remaining surface moisture from the nail plate, giving the base coat a cleaner surface to bond to. Let it air-dry fully before moving on.
Step 6: Apply Primer (If Needed)
Primer adjusts the nail plate’s pH to improve adhesion. It isn’t always necessary on healthy, normal nails, but it becomes important for one nail type in particular, covered next.
Signs Your Nail Beds Are Naturally Oily
A few signs point to naturally oily nail beds: gel that lifts within a few days rather than weeks, a natural shine that returns quickly even right after buffing, a base coat that seems to slide rather than grip, and polish that pools slightly at the cuticle line during application.
The Extra Prep Steps Oily Nail Types Need
This is the step most oily nail prep routines get wrong: dehydrator and primer are not interchangeable, and they’re not an either-or choice. Use both, in that order. The dehydrator removes surface moisture first. Primer then adjusts the nail plate’s pH, which improves how well the gel polymer bonds to the surface. Skipping the dehydrator and going straight to primer significantly reduces how well the primer works.
Timing matters here too. Let the dehydrator air-dry for 30 to 60 seconds, fully, before applying primer. The primer then needs a full 60 seconds to air-dry before base coat goes on. Rushing either step is one of the most common reasons gel fails early on oily nails.
Which Primer Works Best for Oily Nails
Acid-free primer is the right choice for oily nail beds, and for home use generally. Acid primer is stronger and more effective at etching the nail plate, but it’s also harsher, easier to misuse, and more likely to cause irritation without professional training. Acid-free primer gives most of the adhesion benefit with far less risk.
One thing to avoid: don’t push the cuticle pusher harder or cut more aggressively on oily nails in an attempt to compensate. Oiliness is a surface characteristic, not a cuticle problem, and overworking the cuticle area increases the risk of damage without solving the lifting issue.
Do you need both a dehydrator and primer for oily gel nails?
Yes. For oily nail beds, using both is recommended. Apply the dehydrator first to strip surface moisture, let it evaporate fully, then apply an acid-free primer to adjust the nail plate pH and improve polymer adhesion. Using primer alone without dehydrating first reduces its effectiveness. Normal nail types can often skip the primer step.
Adjusting Your Buffing Technique for Fragile Nails
Switch to 240 grit rather than the standard 180 on thin or damaged nails. Use minimal pressure and work in one direction only. Stop as soon as the shine is removed, rather than continuing on to a smooth, matte texture the way you would on healthy nails. The goal on fragile nails is just enough surface texture for the base coat to grip, not a fully buffed finish.
Base Coat Selection for Damaged Nails
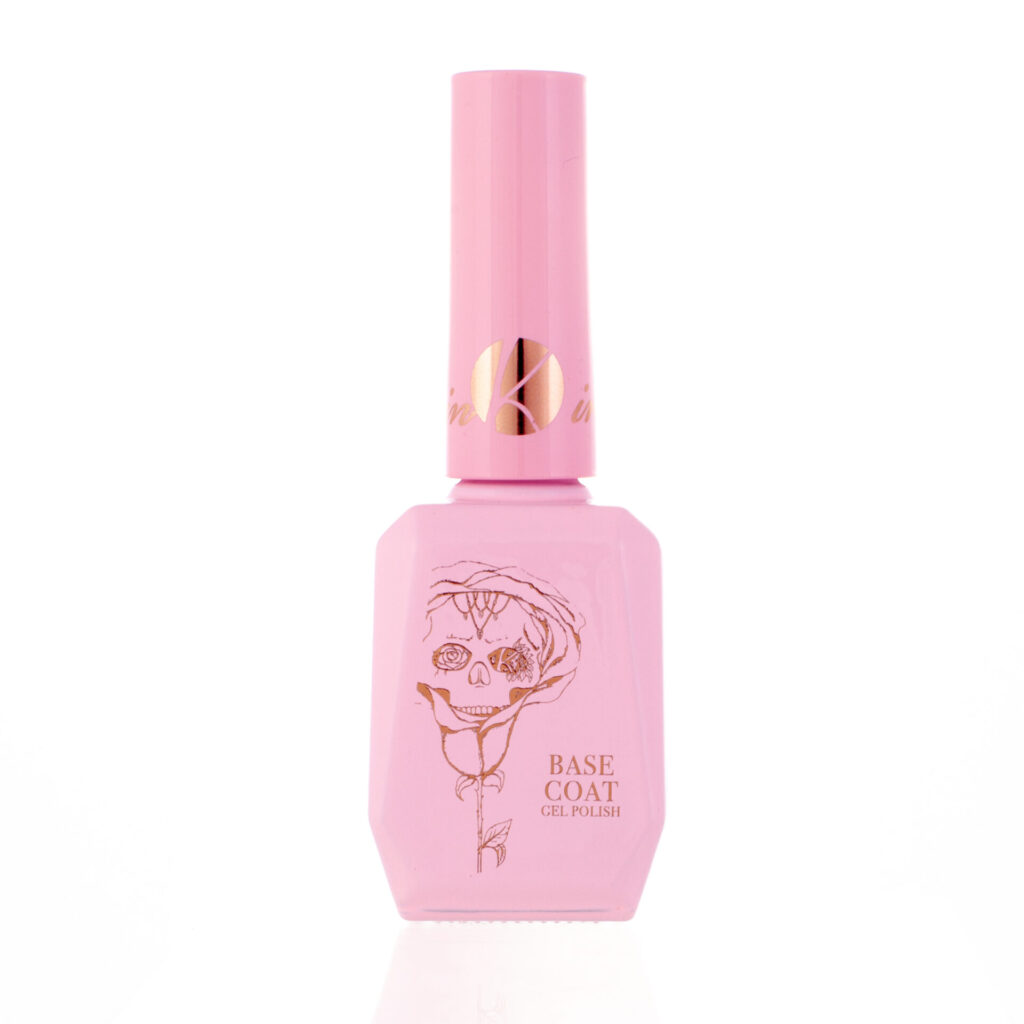
A strengthening base coat is a better choice than a standard base coat for damaged nails. The added flexibility reduces stress on a nail plate that’s already thin or compromised, which lowers the risk of the gel cracking or lifting at stress points.
When Gel Polish May Not Be Appropriate
It’s worth being honest here. Severely split nails, nails bitten to the point of bleeding, or any nail showing signs of infection shouldn’t have gel polish applied. In these cases, the better option is to let the nail recover first. Gel polish can be a genuinely useful protective layer while a damaged nail grows out, but only once the nail itself is in a fit state for product. If your nails have already taken a battering from repeated gel damage, our guide on how to repair your nails after gel polish is worth reading first.
Can you put gel polish on bitten nails?
Yes. Gel polish can be applied to bitten or very short nails. Push back and clear the cuticle carefully, opt for a round or squoval shape, and always cap the free edge with each layer. A strengthening base coat helps protect the nail plate while it grows.
Cuticle Prep Challenges on Short Nails
There’s simply less surface to work with on short nails, which makes cuticle prep trickier than the standard routine suggests. Soften the cuticle with remover first, then use small, circular motions with the pusher rather than long sweeps. Take your time. Rushing this step on a short nail bed is more likely to nick the surrounding skin.
Shaping Options That Work on Bitten Nails
Round or squoval shapes hold up better on bitten nails than square edges. A square corner has more surface area exposed at the tip, which gives gel more opportunity to catch and chip. Rounding that corner off removes the weak point.
Free Edge Capping: Why It Matters Even More on Short Nails
Capping (sealing gel polish over the very tip of the nail, not just the top surface) matters on every nail, but it matters more on short ones. With less free edge to begin with, any patch of exposed tip that isn’t sealed will lift far sooner than it would on a longer nail. Even a free edge as small as 1mm needs a deliberate pass of product over the tip, not just the top.
Should You Buff Ridges Before Gel Polish?
It depends on how pronounced the ridges are. Mild ridges don’t need buffing at all; a ridge-filling base coat handles them fine on its own. Pronounced ridges benefit from a single, light pass with a buffer first, but over-buffing thins the nail plate, so this is a step where less is genuinely more.
Ridge-Filling Base Coats vs Buffing: Which to Use
For home use, a ridge-filling base coat is the safer option of the two. Buffing out ridges properly takes a level of skill and control that’s easy to underestimate, and the risk of thinning the nail plate is real. A ridge-filling base coat achieves a similar smoothing effect with far less risk.
It’s worth knowing that pronounced or persistent ridging can occasionally point to a nutritional deficiency or an underlying health condition. This isn’t something to be alarmed about, but if ridging is new, severe, or paired with other changes in the nail, it’s worth mentioning to a GP rather than just prepping around it indefinitely.
Can you put gel polish on ridged nails?
Yes. Use a ridge-filling base coat rather than heavy buffing, which can thin the nail plate. For deep ridges, a single light pass with a 240-grit buffer before applying the base coat helps the gel sit evenly. Avoid buffing repeatedly in the same direction.
Mistakes Made by Oily Nail Types
The most common one is treating dehydrator and primer as alternatives rather than a sequence, or rushing the dry time on either. Both mistakes lead to the same result: a base coat that doesn’t bond properly, and gel that lifts well before it should.
Mistakes Made on Damaged or Thin Nails
Using the same 180-grit buffing pressure on a thin nail as on a healthy one is the main one. It removes too much of the nail plate’s surface and weakens an already fragile nail further, rather than just prepping it for product.
Universal Timing Mistakes to Avoid
A handful of timing mistakes cause lifting regardless of nail type. Touching the nail plate after dehydrating transfers skin oil straight back onto the surface you just prepped, undoing the step. Applying gel polish immediately after a shower is another, since nails absorb water and expand slightly when wet, so it’s worth waiting at least 30 minutes. Washing hands with soap after buffing and before gel application leaves a residue behind that’s better removed with IPA. And leaving filing dust on the nail acts as a physical barrier between the nail plate and everything applied afterward, so always brush it off before cleansing.
For a deeper look at how prep failures, lamp issues, and lifestyle factors show up as lifting once gel is already on, see why is my gel polish lifting.
Once prep is complete, the next step is getting the application itself right. Our guide on gel polish explained from application to removal covers that in full. And if you’ve already had gel lift or peel and want to get your nails back in shape first, how to repair your nails after gel polish is worth reading before your next appointment.
Returns:
nails@kirstymeakin.com
Kirsty Meakin,
42 Winpenny road,
Park House Industrial Estate,
Newcastle Under Lyme,
ST57RH
