
Gel polish gives you glossy, chip-resistant gel nails that can last for weeks. But removing it the wrong way can undo all that good work in minutes.
Peeling. Picking. Biting.
It is tempting. It is quick. It is also the fastest way to damage your natural nails.
If you want strong, healthy gel nails long term, proper removal matters just as much as perfect application. Here is how to remove gel polish correctly, whether you are a professional nail tech or doing your own nails at home. And, if you want to watch Kirsty perform this treatment, check out this video on her YouTube channel.
Gel polish bonds to the nail plate. When you peel it away, you are not just removing colour. You are lifting layers of your natural nail with it.
The result:
If you care about healthy gel nails, removal must be controlled and gentle.
To soak off gel polish properly, you will need:
Tissue will not work. It does not hold enough product and will dry out too quickly.

Before you soak, you must break through the top coat.
Using a 180 grit buffer, gently file over the surface of each nail. You are not trying to remove the gel polish at this stage. You are simply removing the shiny top layer.
This step makes the gel polish porous, allowing the acetone to penetrate properly. Skip this and the soak-off process will take far longer.
The wrap should be snug enough to keep the cotton in place but not painfully tight.
Leave for 10 minutes.
This is the waiting game. Once wrapped, you cannot do much with your hands. Let the acetone do the work.
After 10 minutes, remove one foil wrap at a time.
Using a metal cuticle pusher, gently slide across the nail. The gel polish should lift away easily. There should be no force and no scraping with pressure.
If the gel does not move easily, rewrap and soak for a few more minutes.
Never dig. Never gouge. The natural nail comes first.
There may be small traces of base coat left behind. Using the soft 240 grit side of your buffer, lightly refine the surface.
Keep the pressure minimal. You are preserving the integrity of the natural nail, not thinning it down.
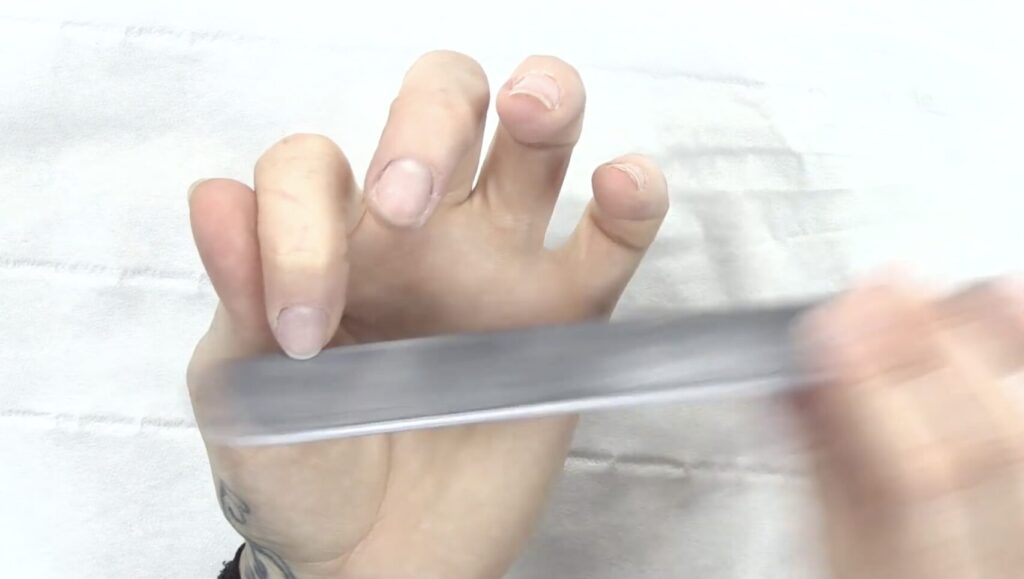
Use a 240 grit file to neaten the free edge.
If you are preparing for fresh gel nails or nail extensions, you can shape properly at this stage. If not, simply tidy to prevent snagging on clothes or bedding.
After soaking in acetone, your nails will already be dehydrated.
Instead of using more acetone, wipe over with isopropyl alcohol or a gentle cleanser to remove surface dust and residue.
Your gel nails journey should not end with stripped, brittle natural nails.
Finish with cuticle oil.
Massage it into:
Acetone removes moisture. Oil restores flexibility and prevents splitting. If you want long-lasting, beautiful gel nails in the future, hydration is non-negotiable.
If you wear gel polish regularly, learning proper removal is essential. This method is safe for home users and professionals alike.
For nail technicians, educating clients is key. Encourage them not to pick off gel polish between appointments. Proper removal protects their natural nails and ensures better retention for their next set of gel nails.

Gel polish should enhance your nails, not damage them.
Correct removal:
Strong natural nails are the foundation of every great set of gel nails. Remove properly. Rehydrate. Then you are ready for your next colour, extension, or fresh set. And no picking. Ever!
Returns:
nails@kirstymeakin.com
Kirsty Meakin,
42 Winpenny road,
Park House Industrial Estate,
Newcastle Under Lyme,
ST57RH
