
Infills are where good nail work shows. Not in the design, but in the maintenance: clean cuticle work, controlled removal, repairing weak points, and rebuilding the apex so the nail lasts another cycle.
This walkthrough covers a full acrygel infill on a three-week set, including how to remove old gel design, repair hairline cracks, prep safely with an e-file, and refine shape without thinning the natural nail.

At around three weeks, you may not see dramatic growth until the cuticles are pushed back properly. After prep, the true regrowth line becomes obvious.
Look closely for:
If there is a split, open it up and remove the compromised product so the fresh product can bond properly. Do not patch over weak structure.
Straight cutters are ideal for:
These are not for skin. They are for product work: length control and embellishment removal.
There are two common routes for removing gel colour/design before an infill.
Best when:
Pros:
Cons:
Best when:
Pink ceramic bit:
Purple ceramic bit:
Ceramic bits also tend to heat up less than sanding bands, which matters when you are working across a long nail for longer.
Key technique:
This is where longevity starts. If you do not expose the full nail plate properly, the client will leave looking like they need an infill sooner than they should.
Use around 5,000 to 7,000 RPM with low angle and no digging. Movement stays controlled and consistent.
On yourself, you may keep the motion forward and change your hand position. On clients, you often work in reverse to make the rotation push the cuticle back safely.
Used to exfoliate non-living tissue around the proximal fold.
What matters most:
If speed is too high or angle too steep, you will eat into the natural nail. The aim is clean prep, not damage.
Use a fine sanding band at low speed to remove shine and create a light key. This also helps blend the join between old product and new growth.
Technique:
Dust thoroughly, then cleanse.
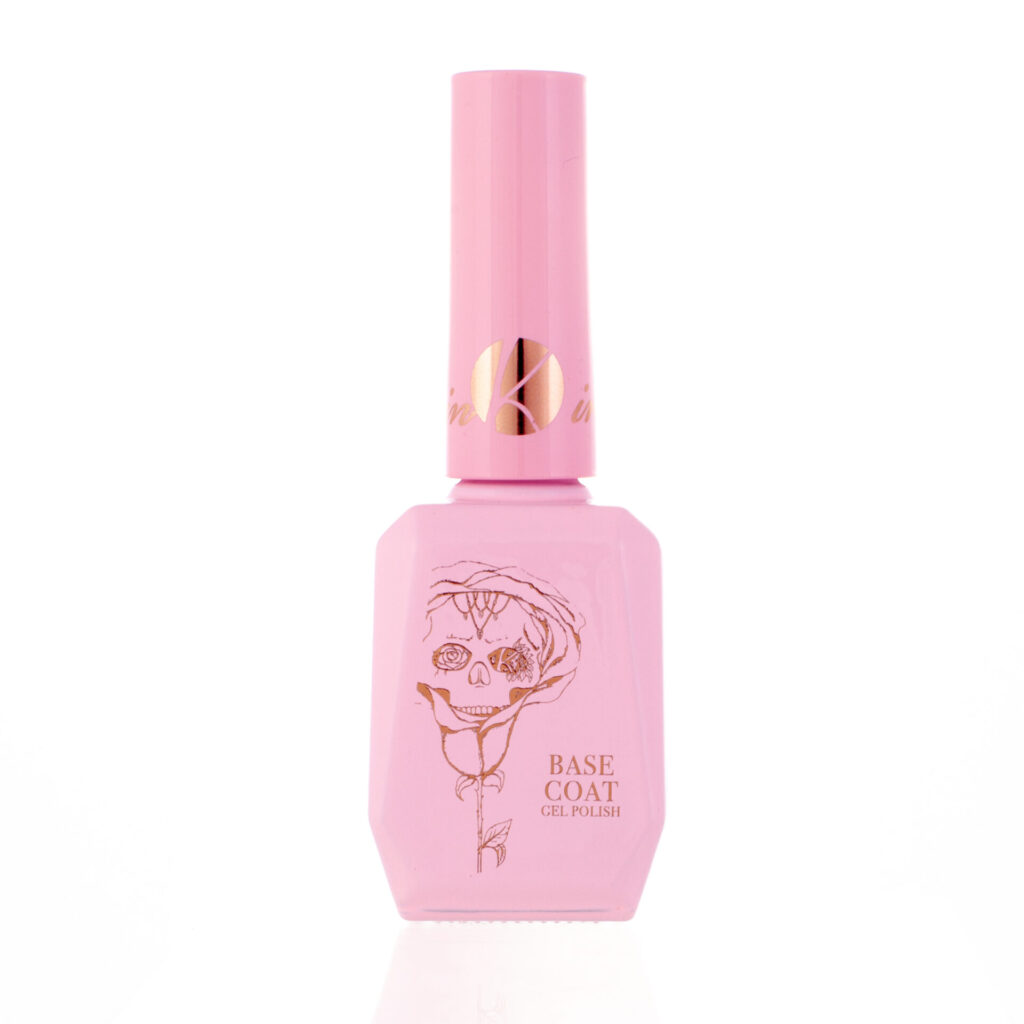
Apply nail prep/dehydrator to the natural nail. Do not flood.
Apply base coat thinly:
Cure for 30 seconds in the correct lamp for the system. Mixed lamps can work, but manufacturers test products with their own lamps, so best practice is matching the system.
Use a spatula to place pea-sized amounts. Use a gel brush with slip solution in a dish.
Critical rule:
Do not flood slip solution onto the base coat area. Excess slip solution around the cuticle zone increases lifting risk.
Work method:
If you have a dip or gap, add a little more product and blend. Cure as needed. If you are not confident doing four fingers at once, do two at a time and cure.
Cleanse off inhibition layer before filing. Filing through sticky gel ruins files quickly and makes everything clog.
A thin metal file is excellent for sidewalls because it is strong, precise, and sanitiseable.
A reusable metal board with disposable paper files works well:
Score the edges to remove sharpness, especially around the cuticle.
If you struggle to get close at the cuticle without catching skin, switch to an e-file bit:
The ceramic “secret weapon” bit can clean under the free edge, removing visible natural nail build-up that looks grubby in photos and day-to-day wear.
Rules:
This small detail makes clients feel the service is thorough and premium.
Step 11: Buff and Clean
Buff for smoothness and soften sharp edges, especially for modern almond shapes. Cleanse to remove dust.
Cuticle oil is normally the finish, but if design work is next, oil can wait until after colour or art.
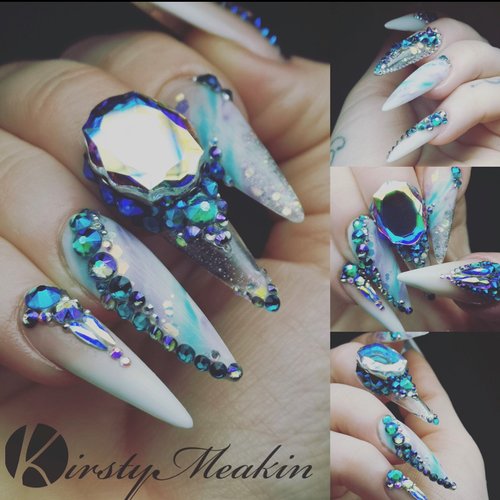
Kirtsty’s full video tutorial of this method can be found here.
Common Problems and Fixes
Cause: sanding band on long nails creates friction over a large area
Fix: switch to pink ceramic bit, lighten pressure, keep moving
Cause: slip solution or product flooded onto base coat zone
Fix: keep brush damp, do the cuticle zone first, avoid excess liquid
Cause: coarser bit pulling backwards into the tip
Fix: pull towards the free edge, use gentler bit, check angles often
Cause: patching over weak product without opening and cleaning the split
Fix: remove compromised product, open the area, then refill with fresh structure
Cause: cuticles not pushed back properly, leaving nail plate unexposed
Fix: improve cuticle prep so full regrowth is revealed and filled correctly
Returns:
nails@kirstymeakin.com
Kirsty Meakin,
42 Winpenny road,
Park House Industrial Estate,
Newcastle Under Lyme,
ST57RH
