
For many nail technicians, choosing the right enhancement system comes down to two options: builder gel or hard gel. Both are used to create strong, sculpted nail extensions, yet they behave differently during application and offer distinct advantages in the salon.
Hard gel systems – sometimes referred to as acrygel or polygel depending on the brand – have become particularly popular across Europe and Canada. Builder gels remain a staple in salons worldwide thanks to their versatility and ease of use.
Understanding how these systems differ helps nail techs choose the right product for their clients and create long-lasting, beautifully structured nails.
Builder gel is a thick, sculptable gel designed to add structure and strength to the natural nail. It is cured under a UV or LED lamp and can be used for overlays, extensions, and nail strengthening. Builder Gel is not to be confused with Gel Polish. Gel Polish is also a UV or LED-cured nail coating designed to deliver high-gloss colour that lasts significantly longer than traditional nail polish. Applied in thin layers and cured under a lamp, it typically maintains its shine and chip resistance for around two to three weeks.
Unlike standard gel polish, builder gel has a thicker viscosity that allows technicians to shape the nail and build an apex for durability.
Common uses include:
• Strengthening natural nails
• Creating short to medium extensions
• Repairing broken nails
• Building structure before applying colour
Builder gel is typically applied in layers, with each layer cured under a lamp before the next is added.
• Self-levelling formula
• Flexible finish
• Ideal for overlays and short extensions
• Softer to file than acrylic
Because builder gel remains slightly flexible once cured, it works well for clients who prefer a natural feel or who struggle with rigid systems.
Hard gel (or acrygel) is a stronger enhancement system designed specifically for sculpting nail extensions. Some brands refer to this system as acrygel or polygel, combining elements of acrylic and gel chemistry.
Despite the naming differences, the core principle is the same: a thick sculpting product cured under a lamp to create durable nail extensions.
Hard gels are typically used with forms to sculpt the nail length and structure before filing and finishing.
• Thick sculpting consistency
• Designed for extensions and long nails
• Stronger and more rigid than builder gel
• Requires filing to refine the shape
Because of its strength, hard gel is often chosen for longer extensions or clients who require more durability.
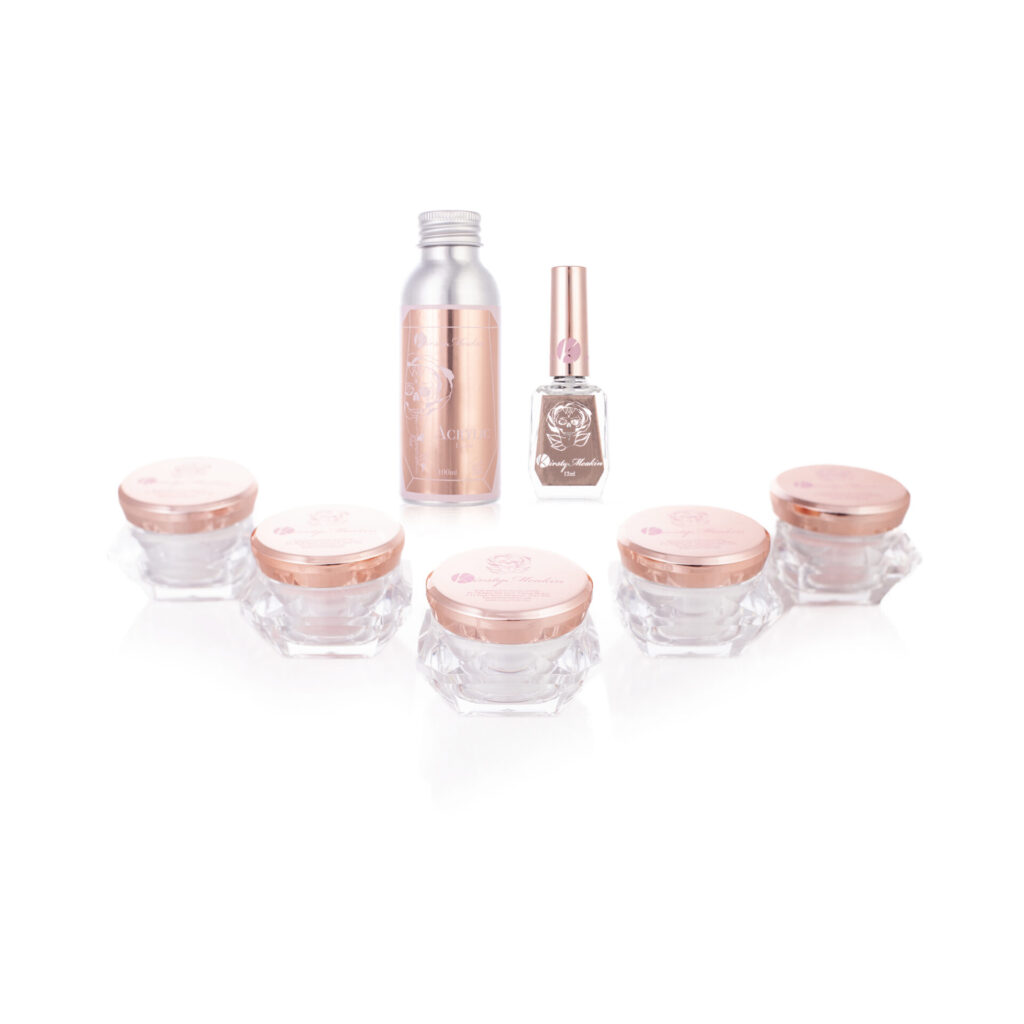
While both systems fall under the gel enhancement category, the way they behave during application is noticeably different.
Hard gel creates a more rigid structure, making it ideal for sculpted extensions and longer nail shapes.
Builder gel remains slightly more flexible, which suits overlays and shorter enhancements.
Builder gel often self-levels on the nail, allowing technicians to float the product and build structure with minimal filing.
Hard gel requires more deliberate sculpting, particularly when creating extensions using forms.
Builder gel applications typically require less filing due to the product’s levelling properties.
Hard gel extensions often involve more shaping once cured to refine the structure and apex.
Builder gel works best for:
• Natural nail strengthening
• Short extensions
• Clients who prefer flexible enhancements
Hard gel works best for:
• Sculpted nail extensions
• Longer nail shapes
• Clients who need maximum durability
A typical hard gel extension follows a structured sculpting process. While techniques vary between nail technicians, the core stages remain consistent.
The natural nail must first be thoroughly prepared. This involves cleansing the nail plate and removing oils or residue using a gel cleanser.
Proper prep ensures maximum adhesion and helps prevent lifting.
Forms are placed underneath the natural nail to create the base for the extension.
Correct form placement is critical. If the form is misaligned, the nail extension can twist or grow downward rather than maintaining a balanced structure.
Technicians often visualise the final nail before beginning application, ensuring the extension length and shape are correct.
A primer is applied to promote adhesion between the natural nail and the gel system.
Some systems also use a bond booster, which is cured under a lamp to create an extra adhesive layer.
A thin slip layer of gel is applied first. This creates a surface for the sculpting gel to grip.
The gel is gently brushed across the natural nail and extended onto the form to establish the first outline of the extension.
The technician then adds additional gel to build the structure of the nail.
Using controlled brush movements, the product is guided into place while maintaining straight sidewalls and forming the apex – the highest point of the nail that provides strength.
Many technicians work in small circular motions, allowing the gel to settle while maintaining control of the shape.
Some technicians sandwich colour gels between layers of clear gel.
This technique adds strength and protects the colour layer while maintaining the sculpted structure.
Each layer is cured under a lamp before the next is applied.
Once the gel begins to set, the nail can be gently pinched to create a stronger C-curve.
This curvature adds structural integrity while also producing a more elegant nail shape.
After the gel has fully cured, the forms are removed and the nail is refined with a file.
Gel products tend to file more softly than acrylic, allowing technicians to refine the shape without excessive effort.
The final structure focuses on:
• Straight sidewalls
• Balanced apex
• Smooth cuticle area
• Symmetrical shape
With careful application, minimal filing is required.
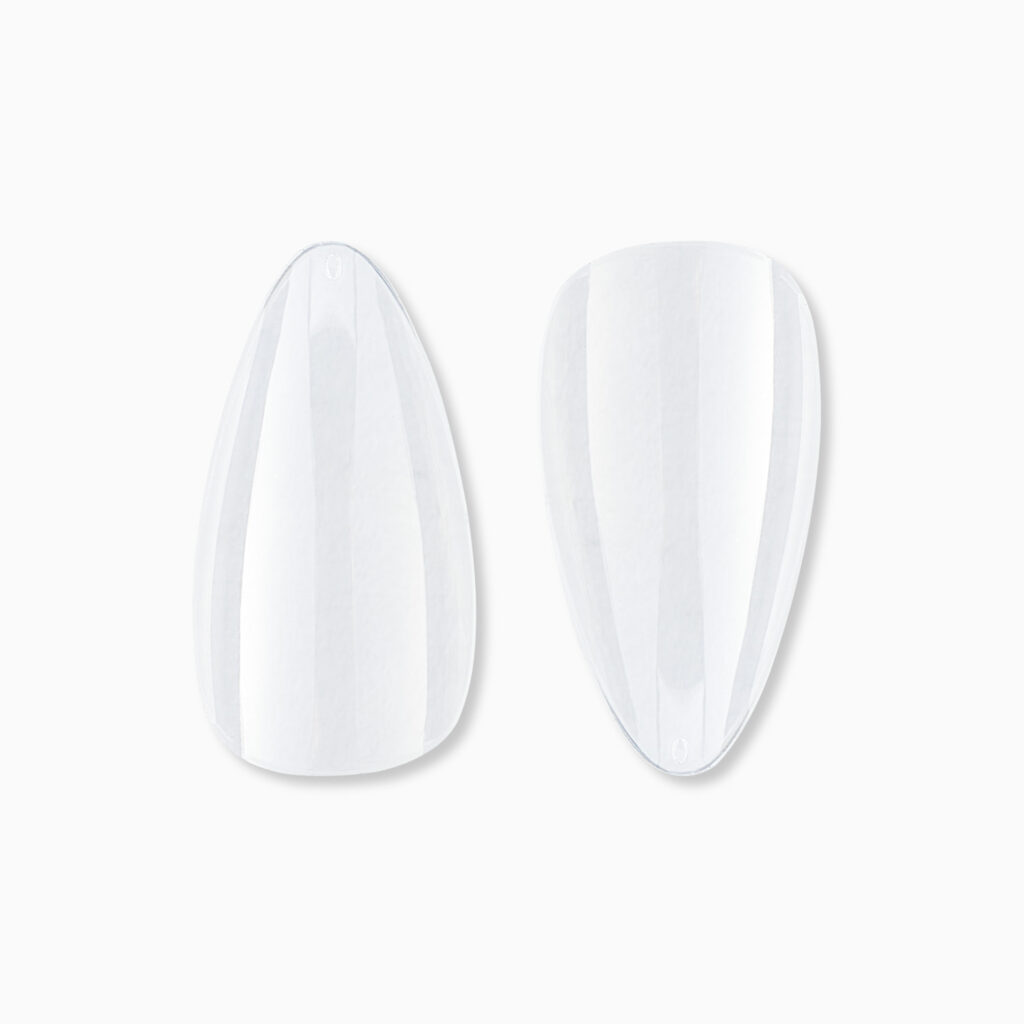
The sculpting flexibility of hard gel allows technicians to create a variety of nail shapes.
Some of the most common include:
• Almond
• Modern almond
• Russian almond
• Oval
• Coffin
For clients with active lifestyles, softer shapes such as modern almond are often recommended. These shapes maintain strength while reducing the risk of catching or breakage.
Hard gel extensions offer several benefits for both technicians and clients.
The thicker consistency allows technicians to place product exactly where it is needed, building strong, balanced nail structures.
Despite their strength, hard gel nails often feel lighter than acrylic extensions.
When applied correctly, gel can be floated close to the cuticle, creating a seamless finish that requires minimal filing.
Modern LED gels can cure in as little as 20 seconds, significantly speeding up salon services.
Both builder gel and hard gel have their place in professional nail services.
Builder gel works well for:
• Natural nail strengthening
• Short enhancements
• Clients who prefer flexibility
Hard gel (including systems sometimes labelled as acrygel) works best for:
• Sculpted nail extensions
• Long nail shapes
• Maximum durability
For many nail technicians, the ideal approach is not choosing one over the other, but mastering both systems so they can tailor the service to the client. One of Kirsty’s acrygel tutorials can be found on YouTube here.
Returns:
nails@kirstymeakin.com
Kirsty Meakin,
42 Winpenny road,
Park House Industrial Estate,
Newcastle Under Lyme,
ST57RH
