
Builder gel is not just for overlays and structure. Used correctly, it is a serious nail art tool especially when you want raised, embossed texture that actually lasts.
This set takes an existing acrylic base and upgrades it with cat eye gel, chrome, and a final layer of 3D texture using builder gel. The result is high-shine, high-impact, and bang on trend.
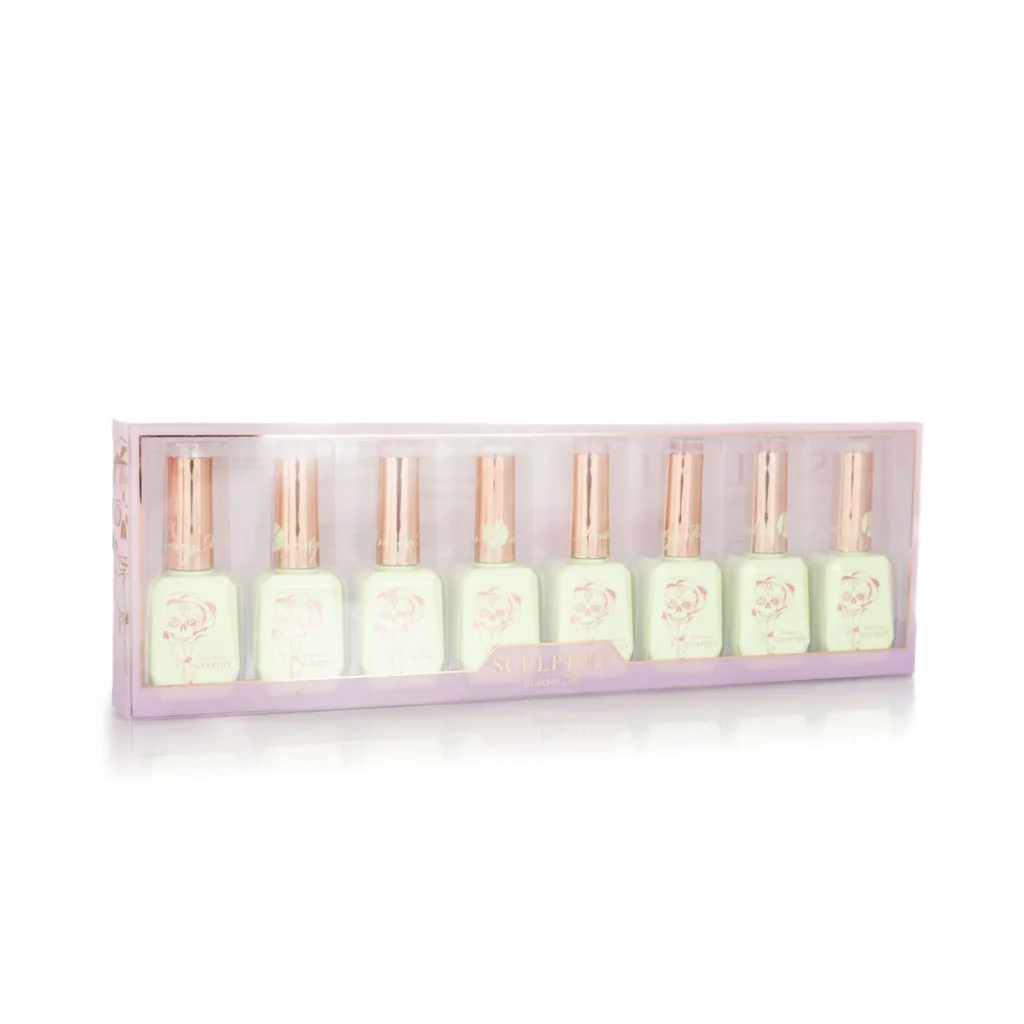
Top coat can create a raised effect, but it is limited. Builder gel is thicker, holds shape, and cures into a solid embossed finish.
That matters when you want:
Builder gel gives you structure and decoration in one system.
This design begins with a full set of acrylic nails already in place, in a stiletto shape. You could top coat and leave them as-is, but the aim here is to build depth with layered effects.
Before applying any gel products, cleanse the nails thoroughly.
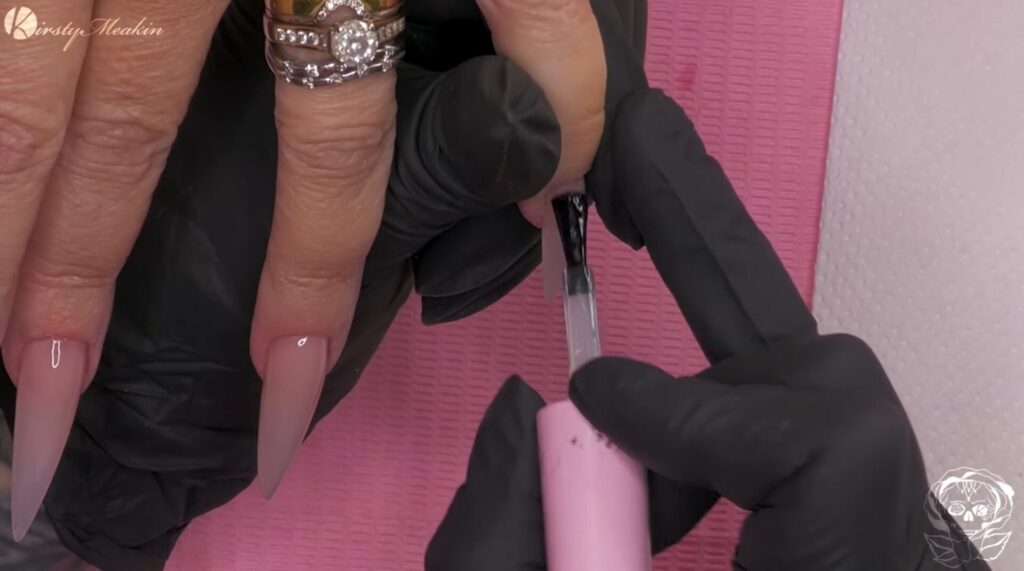
Even on a fresh set of extensions, oils can build up quickly because clients touch their nails constantly.
Use a cleanup solution that also dehydrates to:
This step improves longevity for base coat, colour, chrome, and builder gel texture.
Treat your base coat like a primer layer.
Key points:
A thin base coat reduces bulk and helps the layers above cure cleanly.
Cure fully.
For the cat eye effect, two colours are applied down opposite sides of the nail to create a horizontal ombre.
Method:
A second coat increases depth, saturation, and the cat eye flash effect.
Magnet angle changes everything.
Play with angles until you get the placement you want.
Before chrome, the top coat must be smooth. Chrome highlights every ridge and drag mark.
Apply top coat carefully:
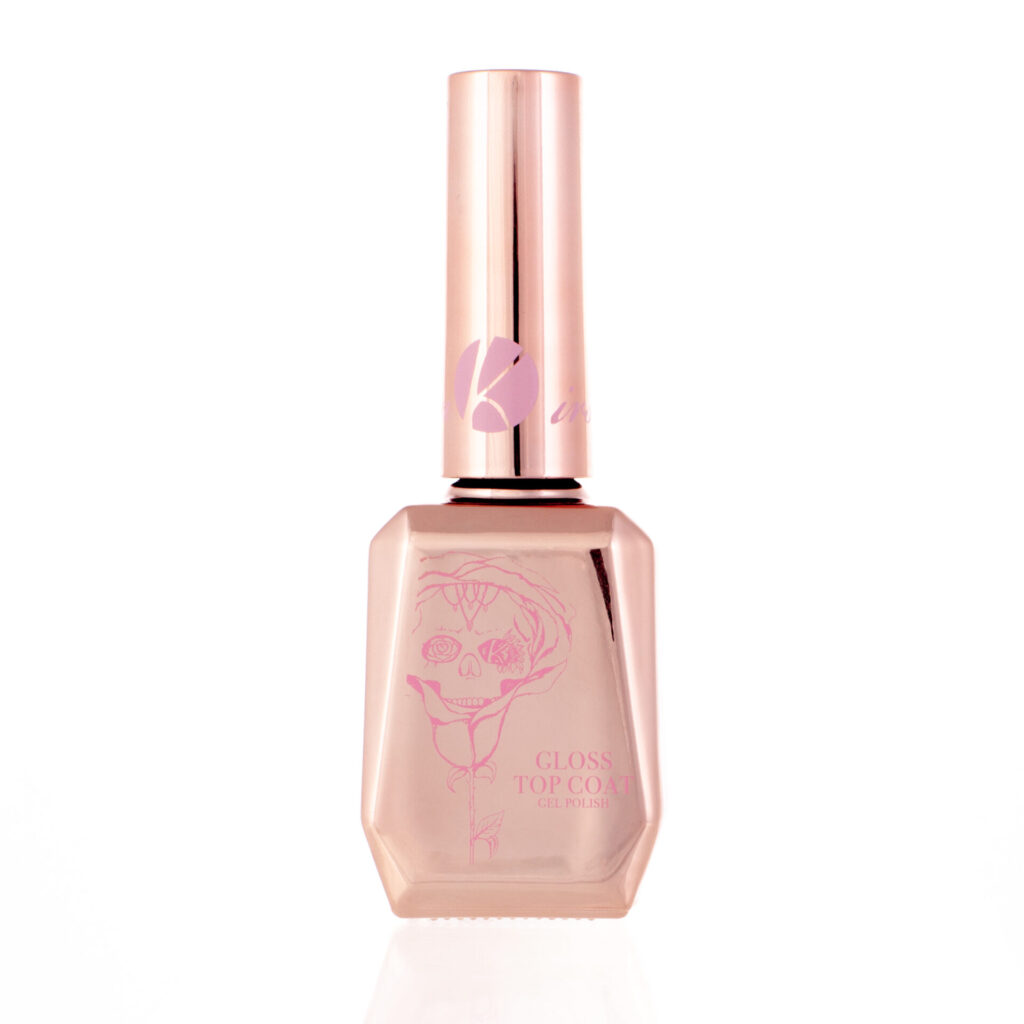
Liquid chrome is applied like polish, then transferred and burnished using a silicone applicator.
Process:
You will see a clear difference between unburnished chrome and fully burnished chrome. The shine only arrives when it is worked in.
Chrome often chips first at the free edge. A small refinement step helps it last.
Use a 240 grit file and lightly remove around 1 mm of chrome from the perimeter:
This creates a slightly rough surface so the final top coat can properly grip and seal the border. Do not go coarse. A 240 is plenty.
Chrome contamination is real. If you use your standard top coat over chrome, you can transfer tiny chrome specks to future clients.
Best practice:
Cap the free edge carefully to prevent chipping.
Now the standout feature. This is where builder gel takes the set from trendy to editorial.
To create raised, embossed texture:
Builder gel holds its height better than top coat, which is why the embossing looks more sculpted and intentional.
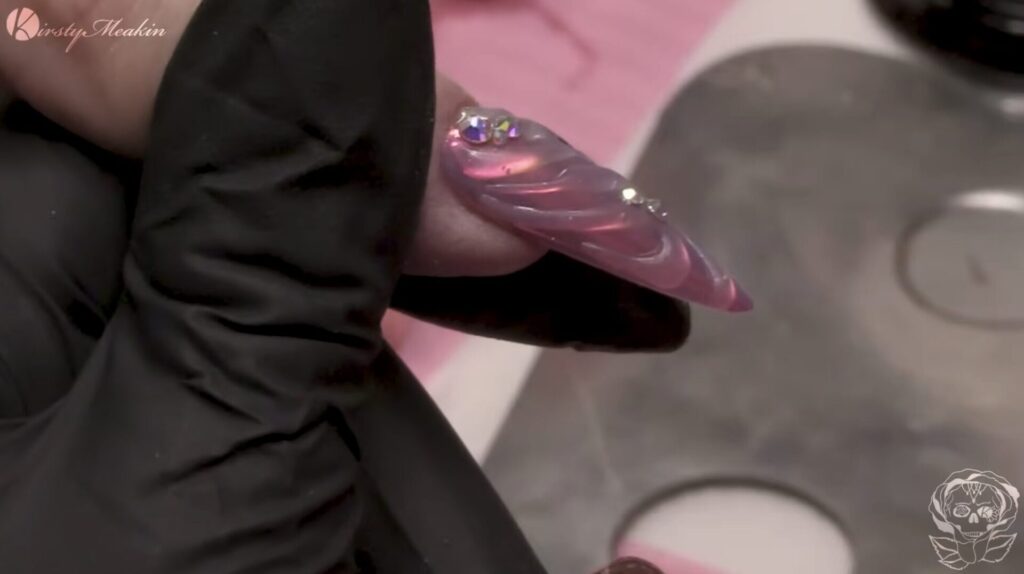
If you are building texture, flash cure is your control tool. Cure in short bursts as you work so the gel stays exactly where you placed it.
Crystals are set into a gem gel, then micro beads can be added for detail.
Key detail: do not top coat too early. If you fully top coat before adding crystals, you risk losing the embossed builder gel effect with too many layers.
Instead:
You want a thin top coat layer that preserves the 3D shape, not one that fills every groove.
This style works because it is layered properly.
It is the sort of set clients keep staring at because it shifts in the light and has actual dimension. If you want to watch the full video of Kirsty delivering this treatment, watch her YouTube video here.
If you are using builder gel for texture, remember:
Cap the free edge properly to stop chipping
Returns:
nails@kirstymeakin.com
Kirsty Meakin,
42 Winpenny road,
Park House Industrial Estate,
Newcastle Under Lyme,
ST57RH
